Where can you get lights for lighting up your LEGO? Do you want to DIY your own setup? You’ve come to the right place! We’ll give some pointers here as well as resources to help you on your way. So let’s take a look at how to start easily LEGO building with lights.
As a little LEGO maniac, I remember being so intrigued by the idea of LEGO lighting up. The Light & Sound logo highlighted on some sets in the late 1990s and seen in older catalogs would always fill me with wonder. I always wanted a LEGO set that emitted a laser, with the intensity of a proper laser pointer! But we’ll go on a trip down memory lane a bit later.

When you’re ready to show off a new creation, lighting can easily add another layer of fun and value to your LEGO creation – especially one that you are particularly proud of. Getting a ‘glow up’ can not only draw out the coolest aspects of your model, it also adds some ambiance to your environment.
With that said, you don’t have to be an expert in soldering or wiring or even DIY to make your model stand out. And it doesn’t have to cost you an arm and leg to light up your LEGO sets. There are a variety of options available today for building with lights, so let’s dive into the bricks!
DIY Options and Materials for Lighting Up Your LEGO.
Alright! If the reader is feeling adventurous and wants to learn something new, you don’t have to stick with the ready-made kits available today. You can do it all yourself! Let’s start with a very basic approach first.
Use LED Christmas Lights

A fairly simple and minimal-modification method is to use a string of ordinary, battery-powered Christmas lights. You can simply insert the bulbs into the holes of Technic brick, and devise ways to secure and conceal the brick within your model.
Check out one of the tutorials at Brickstuff for ideas on placement within your model – especially modular buildings.

It may be possible to shorten the wires on some strings of Christmas lights, but be aware that you will need multiple strings if you want more than one type of light. For example, if you want one section of your model to be lit with white light and you want another section to be lit with yellow light, and another with blue light, you will need separate strings, each with their own battery pack – 3 total in this case.
This factor, along with the general thickness of the string wire (unless you use thin ribbon wiring), could easily limit how well the apparatus can be concealed and weaved into your model. Unless your model will be static and out of play, the use of LED Christmas lights is simple-but-not-always-ideal. This method may require some significant redesign to your model in order to accommodate the lights.
Start From Scratch
Starting from scratch on your lighting project is certainly the more advanced option. But fun regardless!
As a disclaimer, I’m not a total expert myself. So don’t come for my bricks if I have some technical detail slightly askew, okay? Okay. Let’s continue.
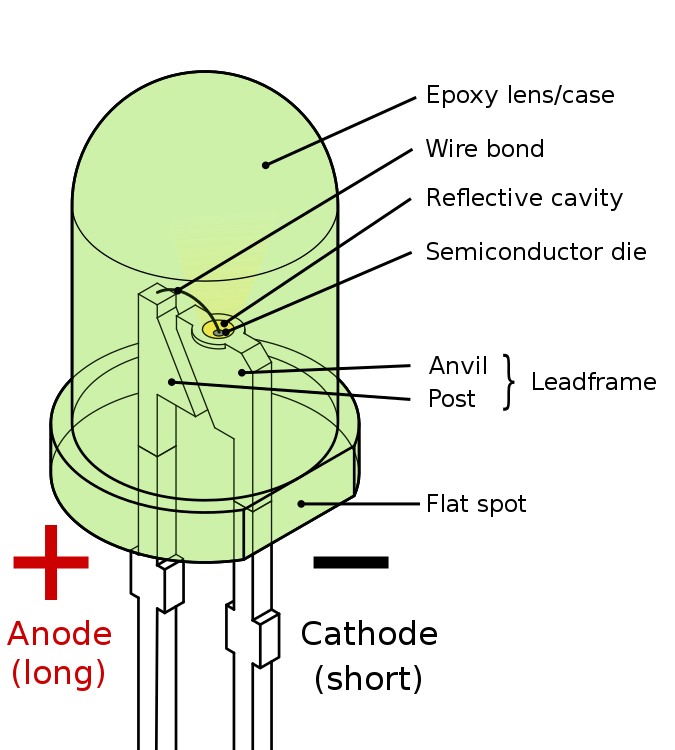
First, keep in mind that all LEDs will need a resistor to accompany it.
For example, just starting out, we may not be decided about if we will run the lighting arrangement with a 5V power supply/USB power, or with a couple of AA batteries (3V). Regardless of the power supply, it is important to protect and limit the current consumption of the LEDs. A resistor, connected in series with each LED, helps prevent blowing the tiny bulb by limiting the electrical current to the bulb.
If you want the LEDs to be dimmer than default, simply increase the resistor value. Experimenting with resistor values is easier if you have Croc Clips handy (to hold the resistor connection in place), so that you don’t have to go through the trouble of “committing” to a solder before you are satisfied with the resistor value.

Have fun deciding how to tackle your lighting project! Making a purchase through one of the affiliate shopping links on this page helps support this site and content. As an Amazon Associate I earn from qualifying purchases.
Now, unless you are adamant about using tiny SMD LEDs (like 0805) that fit under LEGO studs, you may want to steer away from these if you do not have a lot of experience with the application of some challenging soldering! SMDs will need hair-thin wires and likely a Micro-soldering pencil and magnifying station.
LEDs of 3mm – 5mm are generally easier to work with; additionally, the 5mm type fits nicely in most LEGO/Technic brick holes. You could make a start on a project with some 5mm LEDs, 500-1k resistors, and some thin copper wire and heatshrink.
Feel free to come back to the videos here, if you need help getting a visual idea of how to go about a DIY LEGO light project.
Sit back, relax, and watch two tutorial overviews – one from Bevins Bricks, and another from RichboyJhae.
For a materials list, check out the electronic components listed below.
Get a LEGO set of your choice, add components listed below, and you’re on your way to getting lit up:
| Preview | Product | Availability |
|---|---|---|
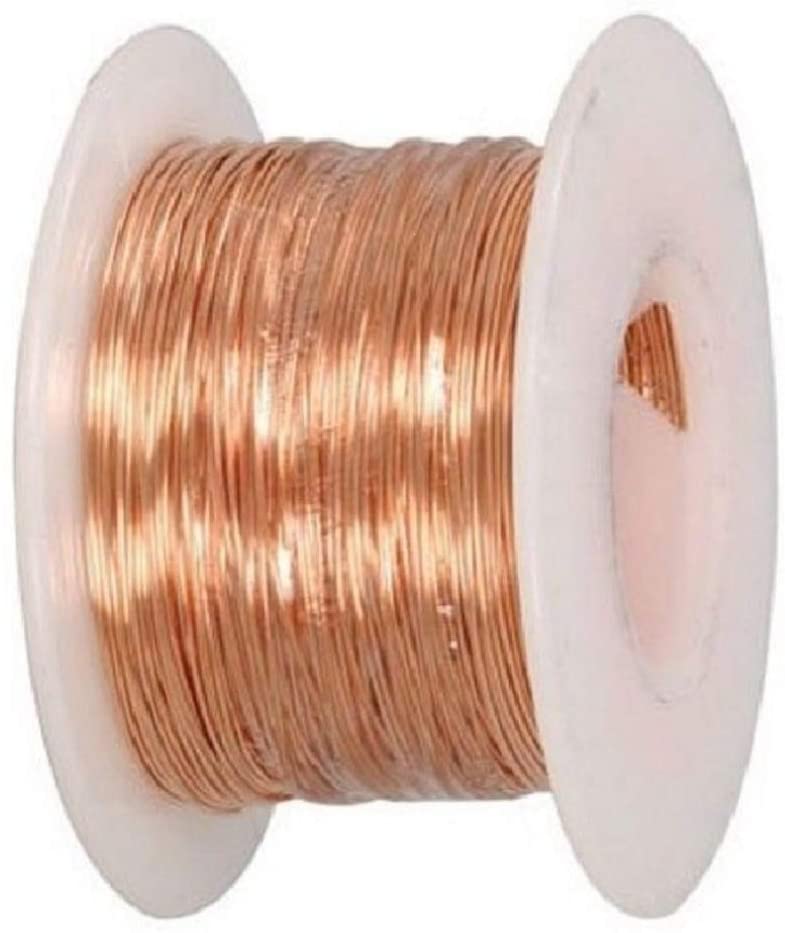 | 150 ft bare copper wire | Found on Amazon. |
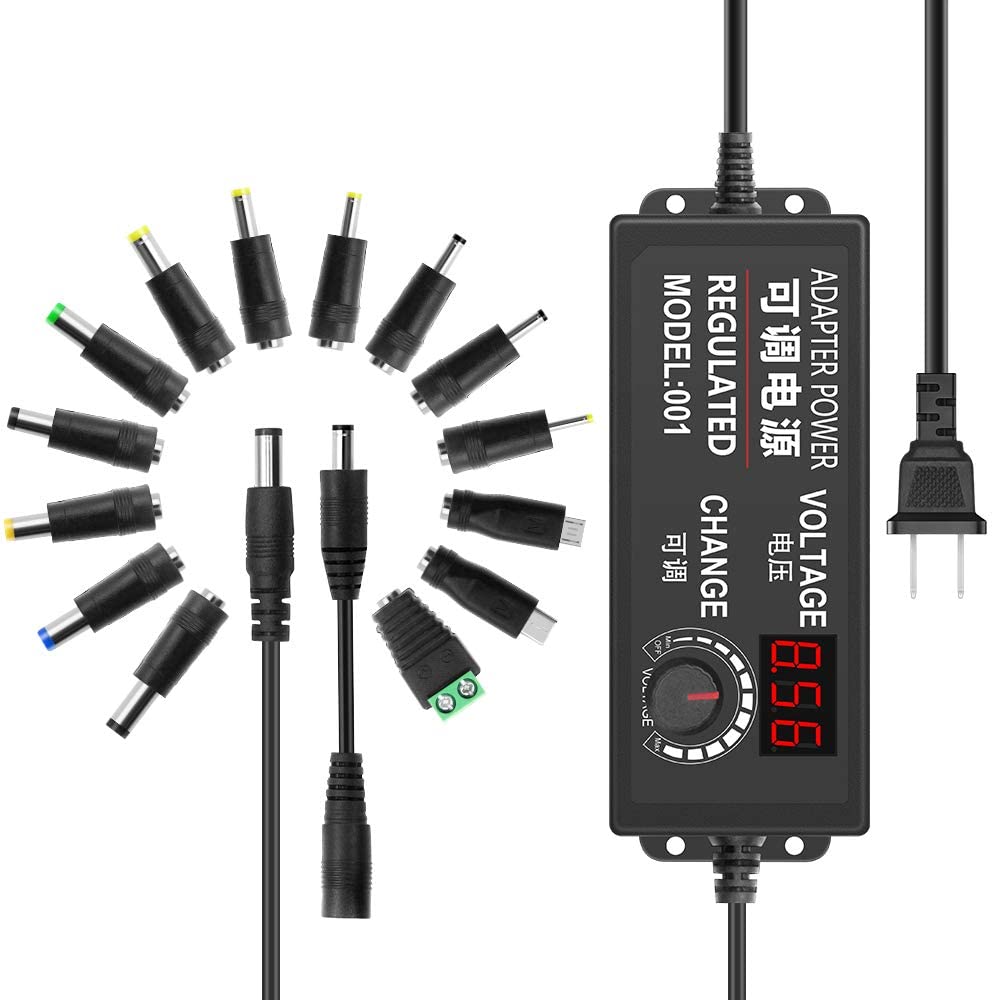 | adjustable power supply | Found on Amazon. |
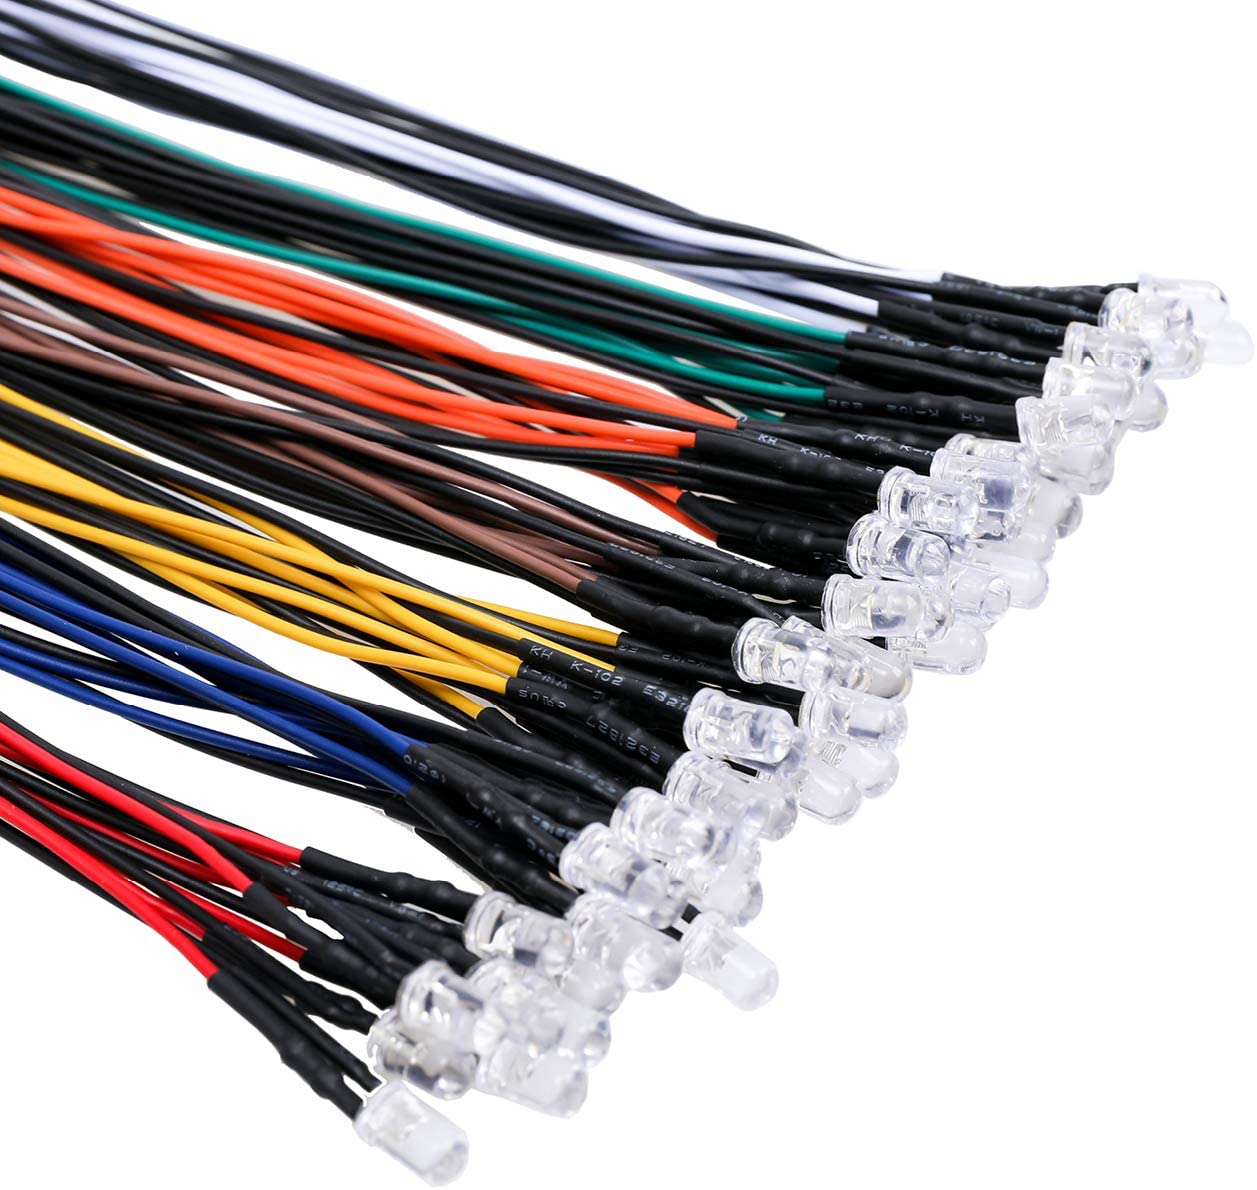 | pre-wired 5mm LED lights | Found on Amazon. |
Another Suggestion:
For a high quality “all-in-one” soldering iron kit, view this pack from Plusivo, available on Amazon.
So, after reading this, if you would still rather get started with your LEGO lighting project via less technical means, proceed onward!
Not Sure What Parts To Buy? Try A LEGO Light Kit.

You can help support this site by shopping at Brick Loot. I may earn a small commission if you make a purchase, which will help me deliver more LEGO goodness to you, the reader!
You don’t have to be an avid hobbyist or pro creator to add some custom accessories to your LEGO building.
If you are not sufficiently confident in doing your own wire modification and soldering, the determined reader may elect to go with a kit. Take the bulk of the dirty work out of the equation. Fair enough! But with several options to choose form, how to decide where and what to buy?
I will be focusing on Brick Loot, which offers not only solid lighting options, but also a wide range of products and services to LEGO fans. As a family start-up business, Brick Loot also has quite the interesting story.
Brick Loot: Two Different Lighting Solutions
- Prepackaged light kits for existing LEGO sets, which includes the LEDs, wiring, and online (digital) instructions.
- Light Linx, which is a range of individual components including lights, wiring, power supplies, and LEGO elements for your custom creations.

Overall, Brick Loot has a stellar (and growing) lineup with some reasonable price points as well.
Bear in mind that, as of this writing, the light kits do not include instructions in the package (they are available as PDFs online), nor do the light kits include battery boxes or power supply (available separately). You will need to get a USB hub, or a couple Y splitters to provide power to your light setup!
Check out a candid Brick Loot demo form JANGBRiCKS:
Overall, I am impressed by their lineup, and look forward to seeing what they do in the future. I also look forward to trying some Brick Loot in one of my own MOCs.
The kits are available now, and Brick Loot also has promotional discounts, gift cards, as well as free US shipping on orders over $50 – so get lit.
Heads up!
For a more detailed look at Brick Loot and Lightailing, check out this review post!
Depending on how much lights you want to incorporate into your LEGO, and depending on how advanced you wish to get with it, the price and time investment will vary.
However, with the options outlined here, you could begin adding lights to your LEGO for relatively cheap. A DIY solution can be inexpensive, but it is still necessary to factor in trial and error, as well as the potential need for additional and unforeseen materials.
A builder may end up paying more for the prepackaged kits like Brick Loot, but it is also helpful to take into consideration the added convenience of “plug and play”. Simply follow the kit’s instructions, and trial and error will be greatly reduced.
Reaching that “aha”(let there be light!) moment can be extremely rewarding when a DIY LEGO light setup comes to life. But it can also be very rewarding to successfully integrate a lighting kit without sacrificing a lot of time or playability for your set.
A Brief Overview of LEGO Light History.

LEGO Light & Sound debuted as an exciting new electronic integration in the 1980s. Sets in the Town and Space themes incorporated the system, which consisted of special bricks with a metal inlay. The function was powered by a 9V battery box – no wires required!

I never quite got my hands on much Light & Sound sets. In fact, one of the few I had gotten was the LEGO Insectoids Sonic Stinger. I still have the box and parts of the set – albeit intermingled with other pieces – and last time I popped in some batteries and tinkered, it still worked!
The glowing, blinking lights and swooshing sounds are quite memorable.

After the late 1990s, Light & Sound faded away, until a slight return in the form of the 2×3 transparent light brick in 2006, and the light & sound siren element in 2019.
Today, LEGO does indeed provide a light & power product range, but it is much more limited than what is currently available form other independent developers.

Awesome Ideas for Your LEGO Light Project
If you’re new to not only LEGO, but also to customizing LEGO, don’t be scared off! If you need a boost to get up and going with a lighting project, have a look below for a small sampling of what can be done.
Create Lamps.


Start a Battle or Diorama.


Design Vehicles.

Create Ambiance.

As you get the hang of lighting up your LEGO, you may be surprised at how much fun it is to incorporate into a new set, or in revisiting an old one. You can turn it into your own opportunity to practice not only your building skills, but also your storytelling. Happy lighting, LEGO maniacs.

My siblings and I were avid lego fans while we were growing up and we couldn’t get enough of it. I must admit that this is the first time that I have seen the addition of lighting to this hobby. What a great way to teach kids about science. I love the house you have pictured. Is this a lego set you can buy or a DIY project?
That’s true, learning how to light up LEGO creations is really fun for kids and adults alike! It can be a great way to learn some hands-on DIY and STEM application at home.
The house pictured in the post is the set 21325 LEGO Ideas Medieval Blacksmith (available from the Official LEGO Shop), and the LED lighting kit for that set is provided by Brick Loot. They’re sold separately.
If you click on that image in the post, it will take you to Brick Loot’s online shop. They offer subscription boxes as well as other STEM / LEGO gifts for kids, geeks, and LEGO fans in general!
I love the idea of lighting up LEGO! What a great article, and very timely with holiday season on the horizon. I have a nephew (high school senior) who loves both electronics and LEGO (still!). I think you just showed me the perfect Christmas gift idea for him!
Do you have any suggestions of what’s hot in LEGO this year and what lighting idea would combine well with it? I would appreciate any suggestions you may have.
I’m happy to hear that this was helpful for you! Lit up LEGO is indeed some pretty cool stuff.
That’s awesome that your nephew has held onto those interests. What kind of themes does he like? Whether it’s cars, superheroes, architecture, or something else, I recommend checking out the Brick Loot links in the post above. Chances are they have it.
Brick Loot has lighting kits, they also have other custom kits and subscription offers that could make a great gift.
Keep in mind that the LEGO sets and corresponding lighting kits are sold separately. For example if you want the set 75255 Star Wars Yoda, Brick Loot has both the set and light kit for it available. They also have the necessary power supplies, as well as a range of other LEGO Star Wars sets in stock. Just match whatever set you want with its Brick Loot light kit.
I remember back in the 90s, Lego kits with light and sound. I never had one in person, but as you mentioned, I also saw them in catalogs. I would daydream about receiving one for Christmas for years. Now that I am grownup, it’s nice to read your post. Thank you!
Yep absolutely, in those days that was just another reason to study those catalogs and imagine. I wondered at how the LEGO light/sound components worked, how much AA batteries they needed, and enjoyed seeing how they were “disguised” to blend into the sets.
I’m going to be getting The Razor Crest from the Mandalorian Star Wars series. I’ve seen a couple of light kits that are made for it but I think I’m going to check out Brick Loot for options. I love building with LEGOs and it’s great to find others like yourself that are still big fans. I’ve got a Harry Potter set of the main hall that could really use some lighting up. You build these great big sets with fully featured interiors but once you’re done you can’t see inside unless you take the roof off. Using a lighting kit is almost a necessity. Well, back to building and having fun!
Oh cool. Brick Loot also does have custom packs that you could check out if you can’t quite find a matching prepackaged lighting kit – good luck!
That’s true about the interiors of big structural sets, especially if they are on display in a nook or corner. It’s no fun being unable to clearly see all the awesome details and scenes. Even a simple lighting setup would really bring the static, stationary display sets to life!